H A X
DrivePulse

User Manual

On-board OBD-II gauges & fault reader
Firmware: Tridectra Fault Sentinel v1.61 · two-button interface · 1–8 screens
01

Meet your DrivePulse

DrivePulse is a solid-state instrument bar. It plugs into a Bluetooth OBD-II adapter in your car and shows live engine data across one to eight OLED screens — and reads your fault codes in plain English the moment the check-engine light comes on.
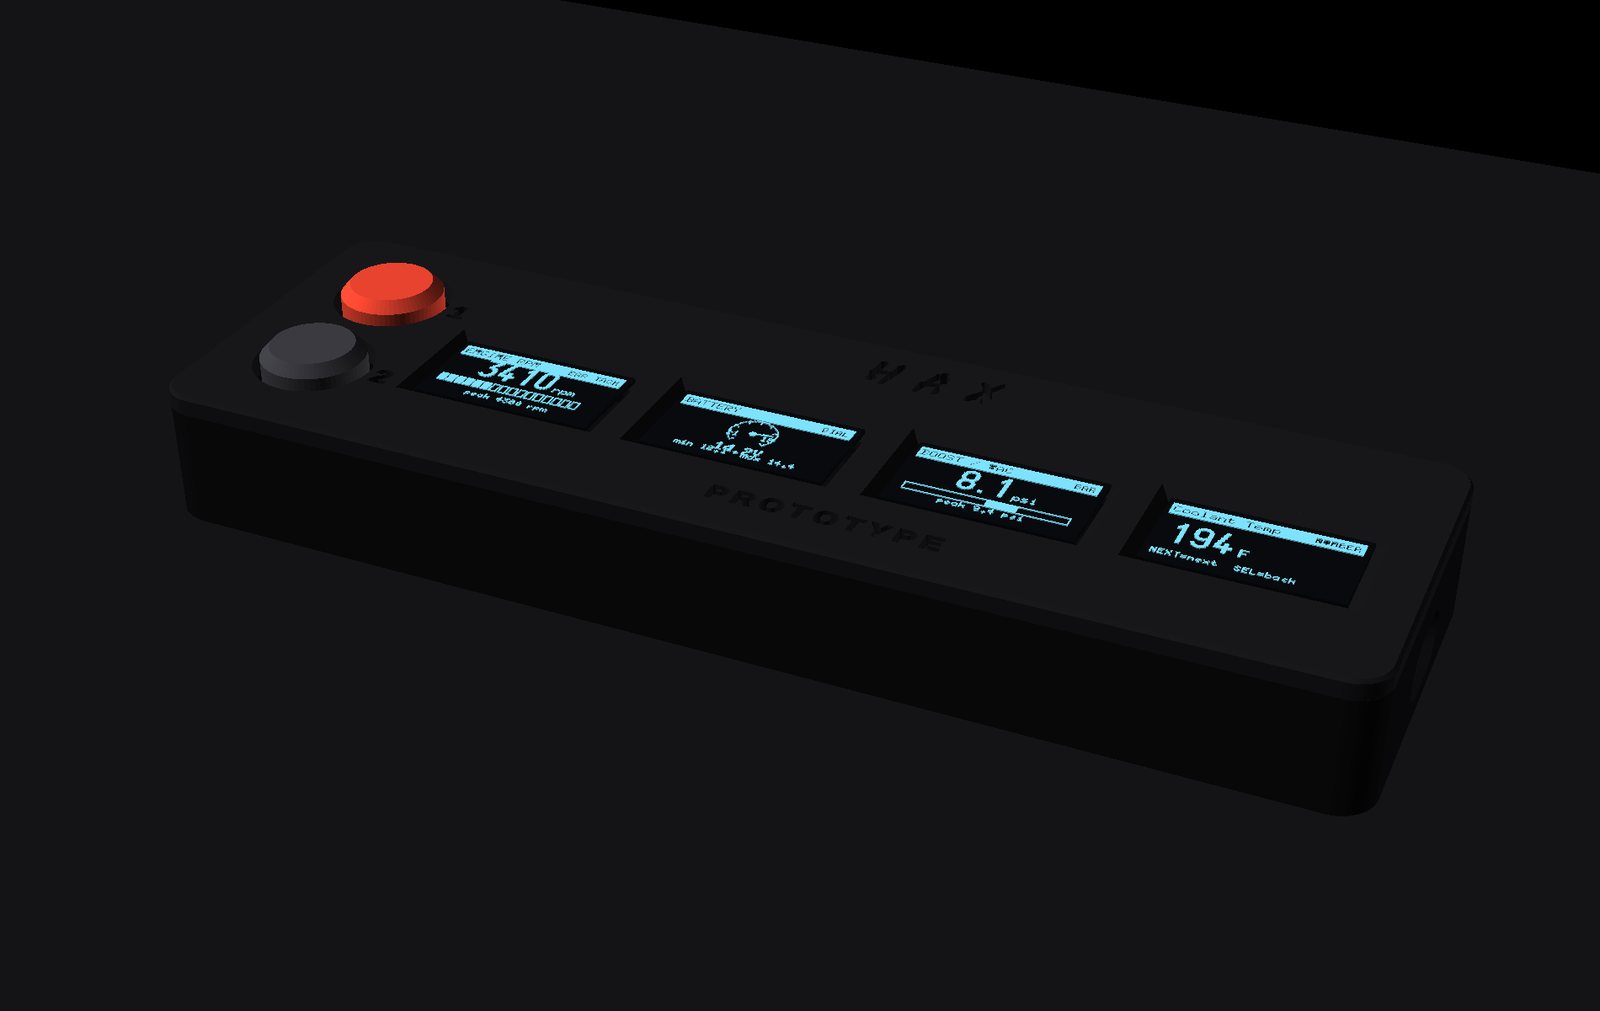
DrivePulse Quad, four lit gauges and two buttons

What you have

  • The screens — each a 128×64 OLED. Screen 1 (nearest the buttons) is the interactive display you drive the menus on. Screens 2–8 show whatever live data you assign them.
  • Two buttons — that's the entire interface. Marked 1 and 2 on the panel.
  • USB-C port — on the end wall. Power it from any 12 V USB adapter in the car.

What you also need

  • An OBD-II vehicle — effectively any car sold in the US from 1996, EU petrol from 2001, diesel from 2004.
  • A Bluetooth Low Energy (BLE) ELM327 adapter — the common $8–15 kind. (Classic-Bluetooth or Wi-Fi-only adapters will not work.)
  • A 12 V USB power source — a cigarette-lighter USB adapter is perfect.
Powering on. DrivePulse boots the instant it gets USB power — about one second, with the HAX ignition animation below. It reopens the exact screen you were on when it last lost power.
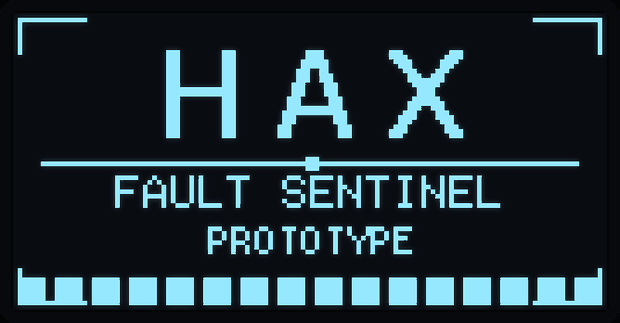
Boot screen
Startup screen. The HAX logo, an ignition sweep, and “FAULT SENTINEL / PROTOTYPE”. On multi-screen units each panel lights in sequence.
02

The two buttons

The entire interface runs on two buttons: NEXT and SELECT. Everything is a tap (press and release) or a hold (press and keep holding). Learn these four moves and you know the whole device.

1

NEXT

Button 1 · move & change
Tap
Next item — steps through menus, cards, codes and sensors. Lists wrap around.
Hold
Fast-scroll a long list. On a live gauge, hold switches the view (number → bar → graph).
In editors
Tap = + one step, hold = one step.
2

SELECT

Button 2 · choose & back
Tap
Pick / OK — open the highlighted item, confirm, or reset a value.
Hold
Go back one level. From most screens, hold returns you home.
In editors
Tap = change the step size, hold = save.

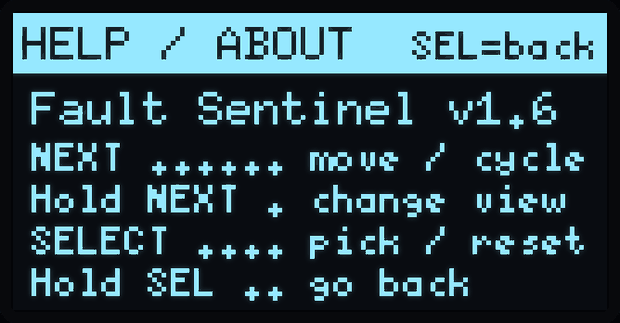
This same reference lives on the device under Main Menu › Help / About:

Help / About button reference screen
Help / About. The on-device cheat sheet, plus the firmware version.
The golden rule: tap SELECT goes in / confirms, hold SELECT goes back. tap NEXT moves along, hold NEXT does the “power” version of whatever screen you're on.
03

First-time setup & pairing

You pair your Bluetooth adapter once. DrivePulse remembers it by address and reconnects on its own every drive after.

  1. Plug the BLE ELM327 adapter into the OBD-II port under your dash (driver's side, near the steering column).
  2. Turn the key to ON (or start the engine). The adapter needs the car awake to answer.
  3. Power up DrivePulse from a 12 V USB socket.
  4. Go to Main Menu › Bluetooth › Find My Adapter and let it scan.
  5. Pick your adapter from the list — then you're done, forever.
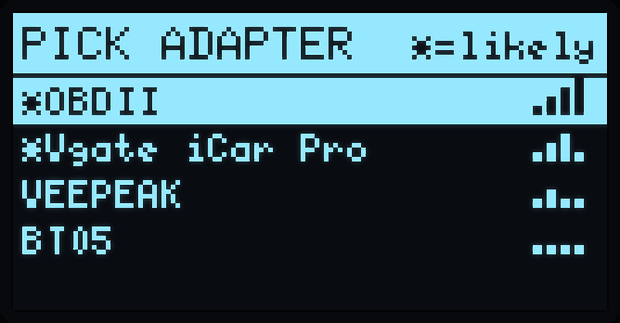
Pick adapter scan list

The adapter list

Likely OBD adapters are marked with a * and sorted to the top; the signal-strength bars on the right show which is closest. Tap NEXT to move down the list, tap SELECT to connect.

No PIN is ever needed — BLE adapters don't use one.

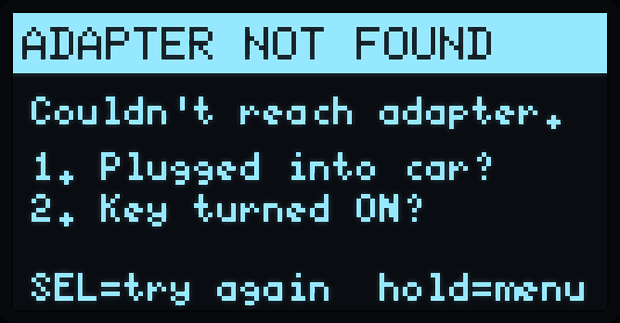
Adapter not found screen

If it can't connect

You'll see Adapter Not Found. Almost always it's one of two things: the adapter isn't fully seated, or the key isn't ON. Fix that, then tap SELECT to try again.

The Bluetooth menu also has Reconnect, Adapter Info, and Forget Adapter (to pair a different one).

04

The home screen

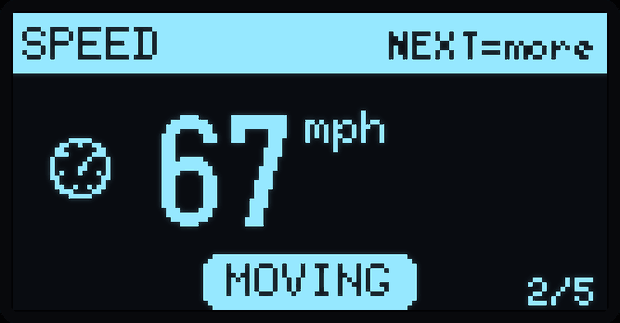
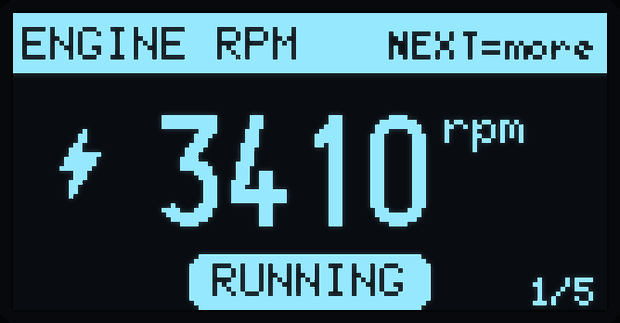
Home is a carousel of big, glanceable gauge cards. Tap NEXT to slide to the next card; the page counter (2/5) shows where you are.

Speed card
Big gauge card. Icon, large value, unit, and a live status pill (MOVING).
RPM card
The carousel rotates through Speed, RPM, Battery, Coolant and Average MPG.
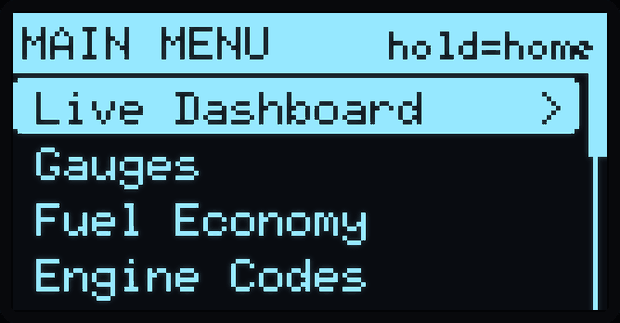
Getting around from home: tap NEXT next card · tap SELECT open the Main Menu · hold SELECT jump back to this home screen from anywhere.
06

Reading fault codes

This is what DrivePulse is for. It watches the check-engine (MIL) status in the background. The moment your ECU turns the light on, it automatically reads the codes and tells you what they mean.

Check engine alert

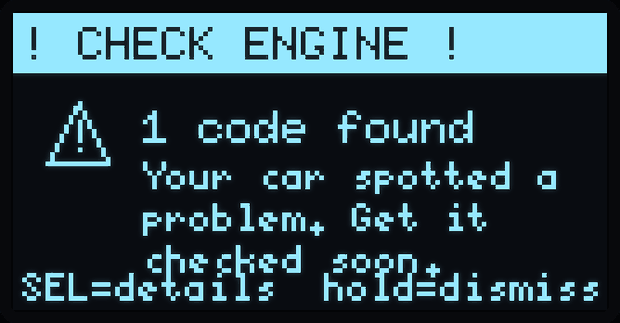
The alert

When the light comes on you get an unmissable ! CHECK ENGINE ! banner with the number of codes found. Tap SELECT to see the details, or hold SELECT to dismiss it for now.

Current code P0301 with description

Plain-English codes

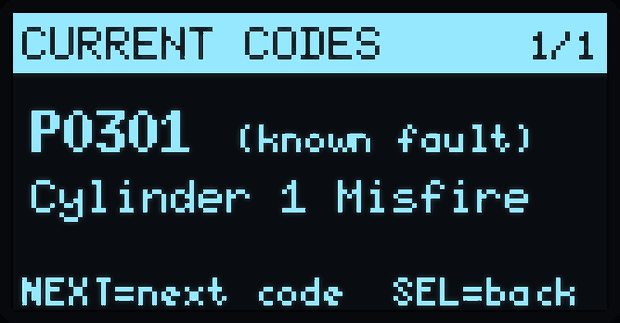
Each code shows the number and what it means — P0301 → Cylinder 1 Misfire. Over 350 codes are described on the device (no phone or internet needed), with smart fallback decoding for anything rare. Tap NEXT to step through multiple codes; hold SELECT to go back.

(known fault) means an exact match; (general area) means it decoded the category of a code it doesn't have verbatim.

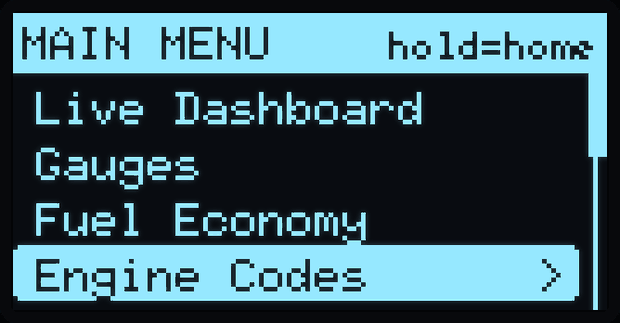
The Engine Codes menu

ItemReads
Current CodesConfirmed faults that turned the light on (Mode 03).
Pending CodesIntermittent faults being watched, not yet confirmed (Mode 07).
Permanent CodesCodes that only clear after the car re-verifies the repair (Mode 0A).
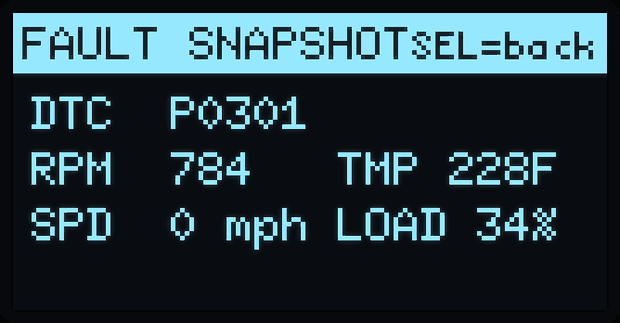
Fault SnapshotFreeze-frame — the engine conditions captured when the fault hit.
Erase CodesClears codes and turns off the light. Two-step confirm.
Fault snapshot freeze frame

Fault snapshot

The freeze-frame shows what the engine was doing the instant the fault was recorded — RPM, speed, coolant temp, load. Priceless for diagnosing intermittent problems.

No codes screen
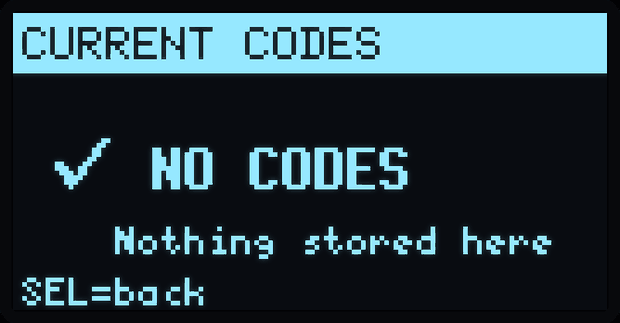
All clear. No stored faults — a green light before a road trip or smog test.

Erasing codes — read this

Erasing is not repairing. Clearing codes turns the light off, but if the fault isn't fixed it comes back. Erasing also resets your emissions-readiness monitors — if you erase and drive straight to a smog check, you'll fail for “not ready.” DrivePulse warns you and requires a deliberate two-step confirm.

DrivePulse only ever reads data and uses the standard clear command. It cannot reprogram, tune, or damage your ECU.

07

Gauges & sensors

Any live value can be shown three ways. On a gauge screen, hold NEXT to cycle the view:

ViewLooks likeBest for
NumericalOne big number + unitReading an exact value at a glance
Gauge / BarA bar or segmented tach that fillsSeeing where you are in the range
Live GraphA scrolling line of the last ~minuteSpotting trends, spikes and drops

All Sensors lets you browse all 18 supported readings: engine load, coolant, fuel trims (B1), intake pressure, RPM, speed, ignition advance, intake air temp, MAF airflow, throttle, O₂ voltage, run time, fuel level, barometric pressure, battery voltage, ambient temp, and fuel rate. Tap NEXT to move between them.

Not every car reports every sensor. If your ECU doesn't support one, DrivePulse shows -- rather than a fake number, and battery voltage falls back to the adapter's own reading.
08

Fuel economy & trips

DrivePulse estimates fuel economy from live engine data and keeps a running average that survives power cycles.

Fuel Economy menu

Instant MPGRight-now economy + a mini sparkline.
Average MPGRolling average, saved to memory.
Range EstimateDistance-to-empty from fuel & economy.
Tank SizeYour tank capacity (for range).
Fuel LevelSet current fuel manually if needed.
Reset To FullTell it the tank is full now.

Trip Computer

Trip SummaryDistance and economy this trip.
Peak RecordsHighest RPM, speed, temp; lowest volts.
Reset TripStart a fresh trip.

0–60 timer lives under Gauges — for honest bragging.

Accuracy. MPG is an estimate from MAP/MAF and load, not a fuel-flow meter reading (unless your car reports fuel rate). Use Settings › MPG Cal to trim it to your real tank-to-tank numbers.
09

Multi-screen displays

On 2- to 8-screen DrivePulse units, screen 1 stays your interactive display and screens 2–8 each show a live page you assign. Configure them under Settings › Additional OLEDs.

Aux RPM tach
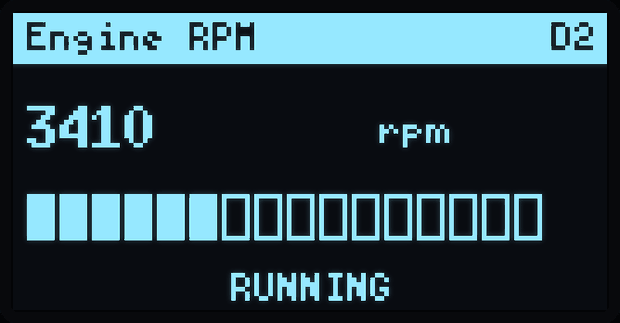
RPM Tach — a segmented digital tachometer.
Aux core data quad
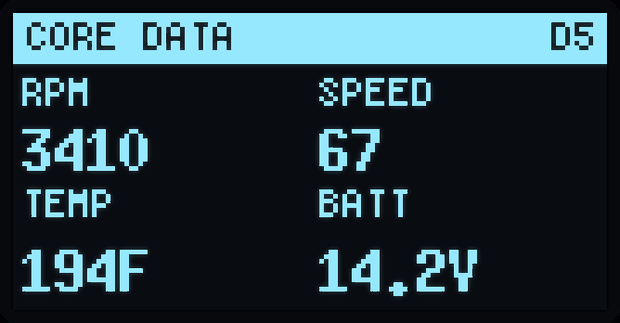
Core Data 2×2 — four vitals on one panel.
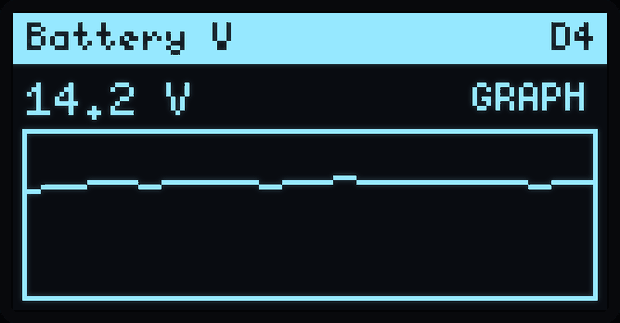
Aux battery graph
Live Graph — here battery voltage over the last minute.
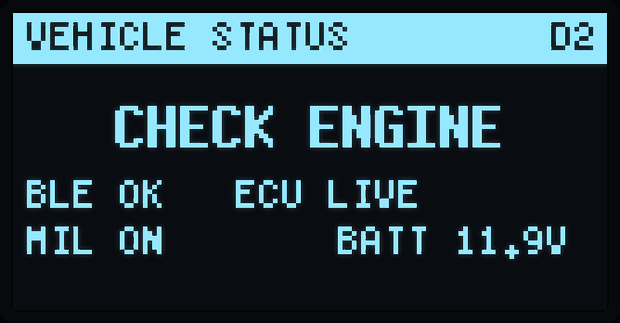
Aux vehicle status
Vehicle Status — BLE, ECU, MIL and battery at a glance.

For each extra screen you choose a page (what it shows) and, for the sensor pages, a view (number / gauge / graph):

Assignable pageShows
Off / BlankScreen off.
Vehicle StatusLink, ECU, check-engine and battery summary.
RPM / Speed / Coolant / BatteryThat one value, in your chosen view.
Live SensorAny of the 18 sensors, in your chosen view.
Fuel EconomyNow + average MPG.
Fuel & RangeFuel remaining and distance-to-empty.
Core Data 2×2RPM, speed, temp, battery grid.
Trip PeaksSession peak records.
HAX LogoA static badge screen.
Why a Duo and up needs the little extra board. Every screen has the same fixed address, so 2+ screens can't share one cable directly — the built-in I²C multiplexer inside the case handles that for you. Nothing to set up; it just works.
10

Settings reference

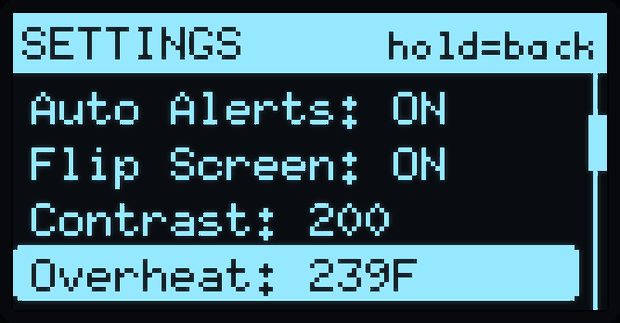
Open Main Menu › Settings. Tap NEXT to move, tap SELECT to change the highlighted item (toggles flip; values cycle to the next option). Always finish with Save & Exit — that writes your choices to memory.

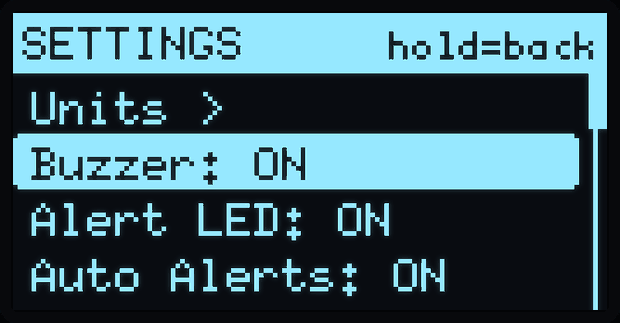
Settings top
Settings. Each row shows its current value inline.
Settings alarms
Scroll down for the alarm thresholds and tuning.
SettingWhat it doesOptions (tap SELECT to cycle)
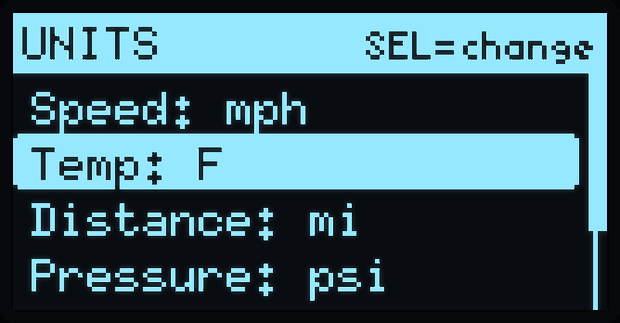
UnitsOpens the units sub-menu (below).› submenu
BuzzerBeeps for alerts and key presses.ON / OFF
Alert LEDLights the warning LED on alarms.ON / OFF
Auto AlertsAuto-reads codes when the light comes on.ON / OFF
Flip ScreenRotate the display 180° for mounting.ON / OFF
ContrastDisplay brightness.40 → 240, steps of 40
OverheatCoolant alarm threshold.Off / 110 / 115 / 120 °C
Low VoltBattery-voltage alarm.Off / 11.6 / 11.8 / 12.0 V
ShiftShift-light RPM (one beep crossing it).Off / 5000 / 6000 / 6500 rpm
Check RateHow often it polls the check-engine status.0.8 / 1.0 / 1.5 / 2.0 / 3.0 s
Engine SizeDisplacement, for the MPG estimate.value editor
MPG CalTrim the economy estimate to reality.60 → 140 %, steps of 5
Additional OLEDsAssign pages to screens 2–8.› submenu
Factory ResetErase all settings and restart.action
Save & ExitWrite settings to memory.action
Units submenu

Units sub-menu

Tap SELECT on any row to flip it. Units save automatically when you leave this menu.

  • Speed — mph / km/h
  • Temp — °F / °C
  • Distance — mi / km
  • Pressure — psi / kPa / bar
  • Economy — mpg / L/100km / km/L

Value editors (Engine Size, Tank Size, Fuel Level)

These use a slightly different button scheme:

ActionDoes
Tap NEXTIncrease by the current step.
Hold NEXTDecrease by the current step.
Tap SELECTChange the step size (e.g. 1 → 0.1).
Hold SELECTSave and exit the editor.
11

Alarms & alerts

Set an alarm once and forget it until it saves you. All three live in Settings.

Silence it your way. Prefer no noise? Turn Buzzer OFF and keep the Alert LED on — or vice-versa.
12

Troubleshooting

SymptomTry this
Won't find the adapterKey ON, adapter fully seated, adapter is BLE (not classic-Bluetooth or Wi-Fi). Re-scan from Bluetooth › Find My Adapter.
Connected, but data says “--”Engine off, or your car doesn't report that sensor. Start the car; try a different gauge.
Values freeze then recoverNormal with a slow adapter — the firmware auto-recovers. A better adapter smooths it out.
Screen upside-down for your mountSettings › Flip Screen.
Display too dim / too brightSettings › Contrast.
Extra screens blankThey doze after the car's been off a while — press a button or start the car to wake them.
MPG looks wrongSet Engine Size, then trim with MPG Cal against a real tank of fuel.
Totally stuckUnplug and replug USB. Settings survive; it reopens where you left off.
Drive safely. Configure and read DrivePulse while parked. Mount it low or on the A-pillar, clear of airbags and your sight line. It's built to be glanceable — big digits, high contrast — so a glance is all it ever needs. It is an accessory display, not a replacement for your car's instrument cluster or its warning lights.